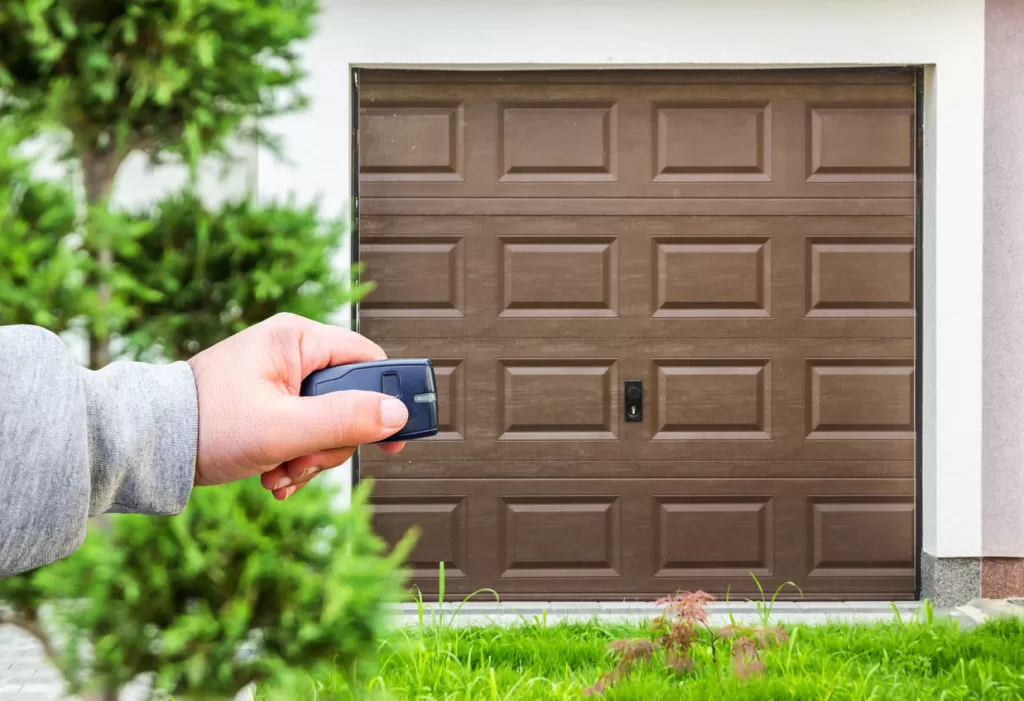
Are you wondering how to program a garage door remote? To program a garage door remote, locate the Learn button on your garage door opener, press and release it, then press the button on your remote. The opener’s light will blink or click, indicating successful programming. Ensure your opener and remote are compatible. Check the manufacturer’s manual for specific instructions, as steps may vary by model.
Programming a garage door remote can seem daunting, especially if you have never done it before.
The process involves a few simple steps but requires attention to detail to ensure your remote functions correctly.
This article explores how to program a garage door remote.
How to Program a Garage Door Remote
Understanding how to program a garage door remote can save you time and the hassle of calling a technician.
The process is generally quick and straightforward, requiring only a few minutes if you follow the correct steps. Most garage door openers use a similar method for programming remotes, but there might be slight variations depending on the manufacturer.
Ensuring you have all the necessary materials beforehand can make the task even easier. Here’s how to program a garage door remote:
Gather Necessary Materials
- Garage door remote
- Step ladder
- Manufacturer’s manual (optional but helpful)
Locate the Learn Button on Your Garage Door Opener
The first step in how to program a garage door remote is locating the Learn button on your garage door opener.
This button is typically found on the back or side of the motor unit, which is mounted to the ceiling of your garage. It may be under a light cover or a small panel. The Learn button is often colored red, yellow, or purple, depending on the brand. If you are having trouble finding it, consult your garage door opener’s manual for assistance.
Once located, make sure you have your remote within reach. The Learn button’s primary function is to pair the opener with the remote, allowing you to control your garage door with ease. It is essential to perform the following steps promptly after pressing the Learn button, as you typically have a limited amount of time to complete the programming process.
Press the Learn Button
To program a garage door remote, locate and press the Learn button on your garage door opener.
This button is typically situated on the back or side of the motor unit and may be under a light cover or a small panel.
The Learn button is often red, yellow, or purple, depending on the brand of your opener. Press the button firmly but do not hold it down. Once pressed, you will notice an indicator light on the opener that either turns on or begins flashing.
This indicates that the opener is in learning mode and ready to receive a signal from your remote.
You usually have about 30 seconds to proceed to the next step.
Program the Remote
With the garage door opener in learning mode, take your garage door remote and press the button you wish to program.
Hold down this button for a few seconds. During this time, the indicator light on the garage door opener should blink or you might hear a clicking sound. This confirms that the remote has successfully communicated with the opener. If the light does not blink or you do not hear a click, try pressing the button on the remote again.
Complete this step within 30 seconds of pressing the Learn button to ensure the remote is programmed correctly.
Test the Remote
After programming the remote, testing it to ensure it works correctly is crucial. Stand safely from the garage door and press the button you programmed on the remote.
The garage door should respond by opening or closing. Repeat the programming steps if the door does not move, ensuring each step is followed precisely.
Testing the remote helps verify that the programming was successful and that the remote and opener communicate properly.
If the remote still does not work after several attempts, consider consulting the troubleshooting tips or the manufacturer’s manual for further guidance.
Troubleshooting Tips
If your garage door remote does not work after programming, consider the following troubleshooting tips:
- Check the Batteries: Ensure the remote’s batteries are fresh and installed correctly.
- Reprogram the Remote: Try reprogramming the remote from the beginning.
- Consult the Manual: Refer to your garage door opener’s manual for model-specific instructions.
- Clear Memory: If your opener has too many remotes programmed, you might need to clear the memory before adding a new one.
- Interference: Ensure there is no signal interference from other devices.
Garage Door Installation and Repair
Attention to your garage door’s functionality is crucial for convenience and safety. Here at Your Garage Door Guys, serving Simi Valley and surrounding areas, our expert technicians are ready to assist if you encounter persistent issues or need a new garage door installation.
Choosing our garage door repair services ensures reliable and professional care for all your garage door needs.
How to Program a Garage Door Remote Conclusion
How to program a garage door remote is straightforward and can save you time and effort. Following the steps outlined in this article, you can quickly and efficiently program your remote to work with your garage door opener.
If you need further assistance in learning how to program a garage door remote, contact us or visit our website today!

