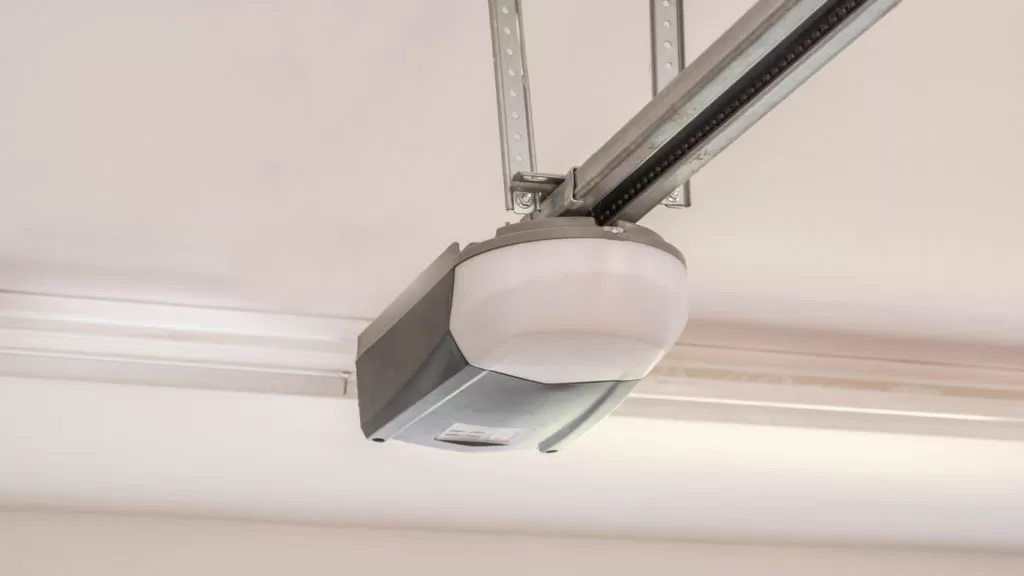
So, you want to understand how to replace a garage door motor. To replace a garage door motor, first disconnect power. Remove the old motor by detaching it from the ceiling and door. Install the new motor following the manufacturer’s instructions, securing it to the ceiling and connecting it to the door. Reattach wiring and test the motor. Ensure safety features are functional. Refer to the manual for specific details.
If your garage door motor malfunctions, it can disrupt your daily routine and pose safety risks.
Replacing a garage door motor might seem daunting, but it is a manageable task with the right guidance.
This article explores how to replace a garage door motor.
How to Replace a Garage Door Motor
Replacing a garage door motor involves several steps that ensure the process is safe and effective.
From preparation and safety measures to final adjustments, each step is crucial. Properly replacing the motor can extend the life of your garage door system and improve its functionality.
Here’s how to replace a garage door motor:
Preparation and Safety Measures
Before starting the replacement process, gather all necessary tools and the new motor unit. Ensure you have a sturdy ladder, wrenches, screwdrivers, and safety gear such as gloves and goggles. Read the manufacturer’s instructions for the new motor thoroughly.
Safety is paramount. Always inform household members about the work being done to prevent accidents. Make sure the garage door is in the down position to reduce tension on the springs. Clear the workspace of obstacles to avoid tripping or interference during the replacement.
Disconnecting Power
Begin by disconnecting the power supply to the garage door opener. Unplug the unit from the electrical outlet or switch off the garage door opener’s circuit breaker.
This step is crucial to avoid any risk of electric shock or accidental garage door activation during the replacement process.
Once the power is disconnected, double-check by attempting to operate the garage door opener. Ensuring no power to the unit before proceeding will enhance your safety and prevent any unintended movement of the garage door components.
Removing the Old Motor
Remove the garage door opener from the door itself to remove the old motor. This usually involves removing the arm connecting the door to the opener. Next, unscrew the motor unit from the ceiling brackets, supporting the motor’s weight as you do so.
Carefully lower the motor unit to the ground. Disconnect any wiring attached to the old motor, noting their configurations for easier reconnection later.
Dispose of the old motor according to local regulations, ensuring all parts are safely handled.
Installing the New Motor
Install the new motor by first mounting it to the ceiling brackets. Ensure the motor is securely fastened to prevent any instability. Follow the manufacturer’s instructions closely for the correct positioning and securing of the motor unit.
Once the motor is in place, reattach the arm connecting the motor to the garage door. Make sure all connections are tight and aligned properly to avoid operational issues. Taking your time during this step will ensure the motor is securely installed and ready for wiring.
Wiring and Connections
Reconnect the wiring to the new motor, following the configurations noted earlier or as outlined in the manufacturer’s guide. Make sure all wires are firmly connected and insulated to prevent electrical hazards. Double-check the wiring connections for accuracy.
After wiring, plug the motor unit back into the power supply or switch on the circuit breaker. Ensure there are no loose wires or exposed connections that could pose safety risks. Proper wiring is essential for the safe and efficient operation of the garage door motor.
Testing the Motor
Once everything is connected, test the motor by operating the garage door opener. Check for smooth and consistent movement of the garage door. Listen for any unusual noises that might indicate misalignment or loose parts.
Perform several open and close cycles to ensure the motor is functioning correctly. Make any necessary adjustments to the motor or the door alignment. Testing the motor thoroughly helps identify any potential issues early and ensures reliable performance.
Ensuring Safety Features
Verify that all safety features, such as the photoelectric sensors and the auto-reverse mechanism, are functioning correctly. These features are critical for preventing accidents and ensuring the safe operation of the garage door.
Align the sensors properly and test their responsiveness. Place an object in the door’s path to check if the auto-reverse mechanism activates. Ensuring these safety features work correctly is a vital part of the motor replacement process.
Final Adjustments and Maintenance
Make any final adjustments to the motor settings as needed. Ensure the garage door opens and closes smoothly without any hitches. Regular maintenance is crucial for the longevity and performance of your garage door motor.
Consider scheduling professional maintenance at least once per year to check for wear and tear, lubricate moving parts, and make necessary adjustments. Professional maintenance helps prevent major issues and extends the life of your garage door system.
Garage Door Motor Repair
Is your garage door motor acting up but not entirely broken? Immediate repair can save you time and money.
We specialize in prompt and efficient garage door motor repair at Your Garage Door Guys, serving Simi Valley.
Do not let a minor issue turn into a significant problem – contact us today to restore your garage door’s functionality!
Conclusion
Replacing a garage door motor involves careful preparation, safe execution, and thorough testing.
Following these steps ensures a successful replacement and reliable operation of your garage door. For ongoing maintenance and professional support, trust Your Garage Door Guys to keep your garage door system in top condition.

