
Installing a garage door opener can make everyday access more convenient, but the process needs to be handled carefully. Incorrect mounting, wiring, or settings can affect performance and even become unsafe.
At Your Garage Door Guys, we provide professional garage door opener installation throughout Ventura County and Los Angeles County. If you want to understand how to install a garage door opener before taking on the project yourself, these 12 steps cover the process.
How To Install A Garage Door Opener
Before you begin, read the manufacturer’s instructions for your specific model. Belt drive, chain drive, and screw drive systems can require different hardware and mounting points. Gather the tools and materials you need, clear the door’s path, and make sure there is enough ceiling space to mount the opener.
Step 1: Check the Garage Door
Disconnect any existing opener and open the garage door manually. The door should move smoothly along the track and remain balanced when partially open. Check the rollers, cables, and garage door springs for visible issues. If the door feels unusually heavy or will not stay in position, have a professional inspect it before continuing.
Learning how to install a garage door opener starts with a door that already works correctly. An opener is designed to move a balanced door, not compensate for damaged springs or other mechanical problems.
Step 2: Choose the Right Garage Door Opener
Select an opener that fits the door’s width, weight, and configuration. Belt drive openers are often chosen for quieter operation, while a chain drive opener offers a familiar, durable design. Some garages may also use a screw drive or wall-mounted model.
You can review our garage door opener options if you want help comparing systems for your space.
Step 3: Assemble the Rail and Motor Unit
Follow the manufacturer’s instructions to assemble the rail, trolley, belt, chain, and motor unit. Make sure every connection is secure before lifting the assembly into place.
Step 4: Find the Center Point
Measure the garage door and mark the center line above it. Position the header bracket according to the required clearance. Proper placement helps keep the opener aligned with the center of the door.
Step 5: Attach the Header Bracket
Locate solid framing and drill the required holes. Secure the bracket with the recommended lag screws or supplied hardware. Avoid attaching structural components to drywall alone.
Step 6: Mount the Opener to the Ceiling
Raise the motor and rail assembly into position, keeping the rail level. Attach the motor unit to structural ceiling supports using the proper brackets and fasteners. Another person can help hold the opener while you secure it.
Step 7: Connect the Door Arm
Attach the opener arm to the door with the provided bracket. Some doors require reinforcement, especially when replacing an older opener or adding an automatic garage door opener to a manually operated door.
Step 8: Install the Safety Sensors
Mount the safety sensors near the bottom of the opening so they face each other across the door’s path. Route the wiring away from moving parts and secure it as directed.
The U.S. Consumer Product Safety Commission provides information about automatic residential opener safety requirements. Correct sensor placement is an important part of understanding how to install a garage door opener safely.
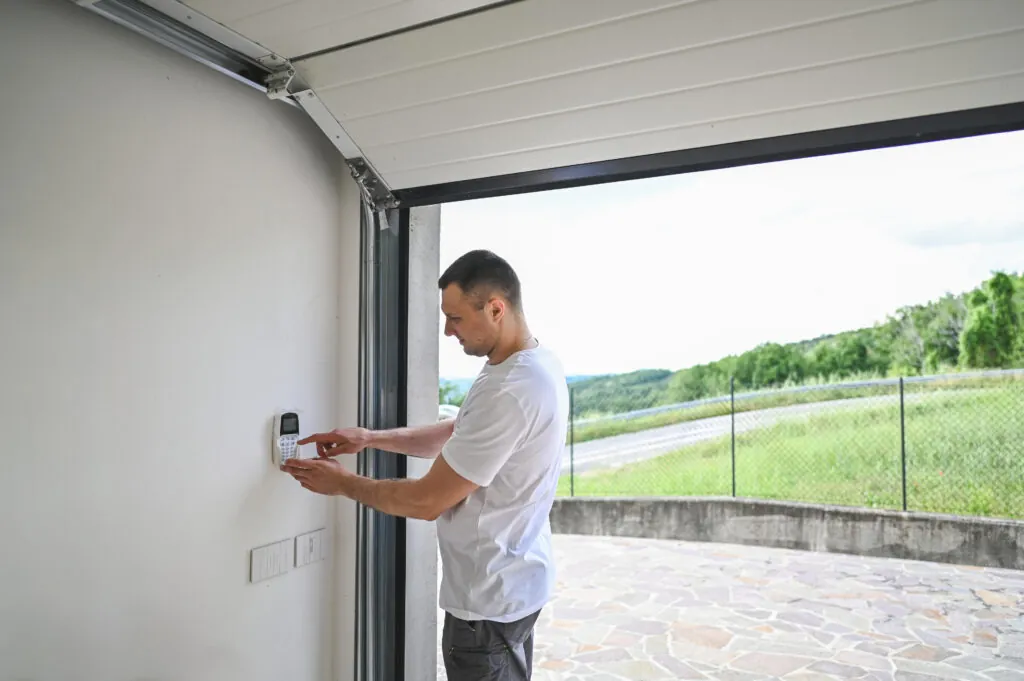
Step 9: Install the Wall Control
Place the wall control where you can clearly see the garage door but where small children cannot easily access it. Run the wiring back to the opener and connect it to the proper terminals.
Step 10: Connect Power
Once mounting, wiring, and sensor connections are complete, plug the opener into a properly grounded outlet. Follow the manufacturer’s instructions for additional electrical requirements.
Step 11: Program the Opener
Set the open and closing travel limits, force settings, remotes, keypad, and available features. Test each setting carefully. If the motor runs but the door does not move correctly, check the track, rail, belt or chain tension, and door balance rather than forcing the system.
Our garage door opener repair team can help if the unit is not performing as expected.
Step 12: Test the System
Operate the door several times and watch the full cycle. Test the sensors and automatic reversal feature according to the manufacturer’s instructions. The door should open and close smoothly without unusual movement or noise.
When an Automatic Garage Door Opener Needs Professional Installation
Knowing how to install a garage door opener can help you understand the project, but installation can still be a challenge. Overhead mounting, electrical connections, safety settings, springs, and door balance all require careful attention.
If you are unsure about the process, Your Garage Door Guys can handle the installation and inspect the existing door at the same time. Our complete garage door services include opener installation, repairs, maintenance, and other solutions designed to keep your system operating properly.
We serve homeowners throughout our Southern California service areas, including Ventura County and Los Angeles County. Our team can help you select and install the right opener for your garage.
Thanks for the guidance
Our pleasure!